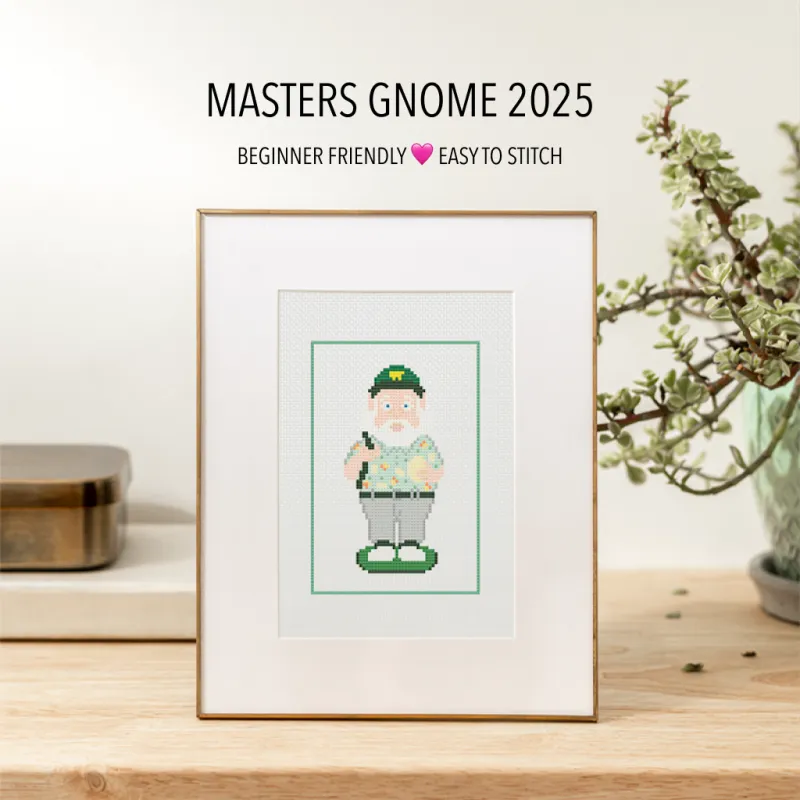
Masters Gnome 2025
$4.99
Dumpster Fire
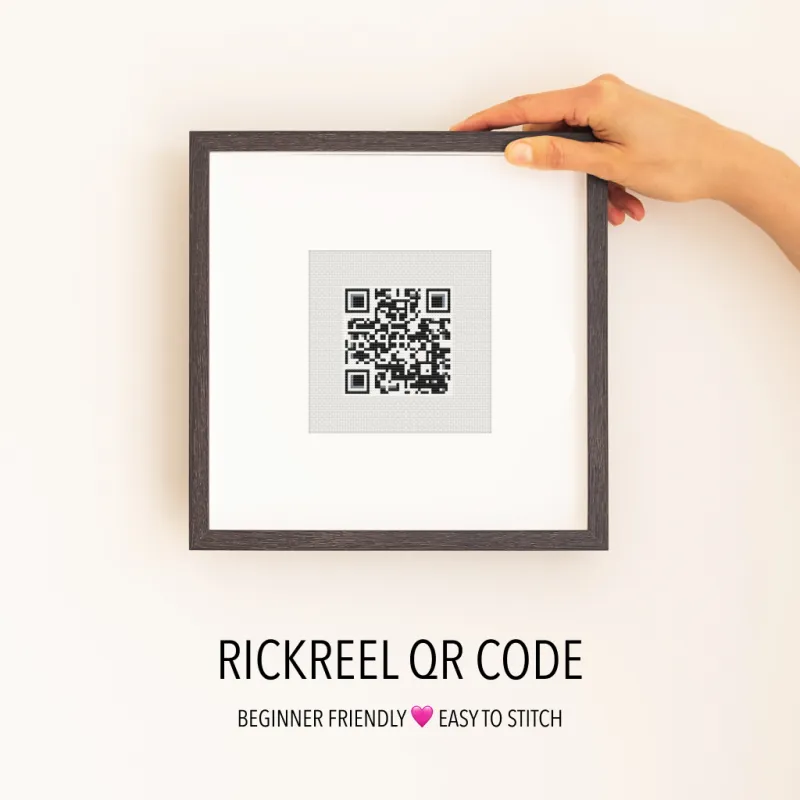
Rickreel
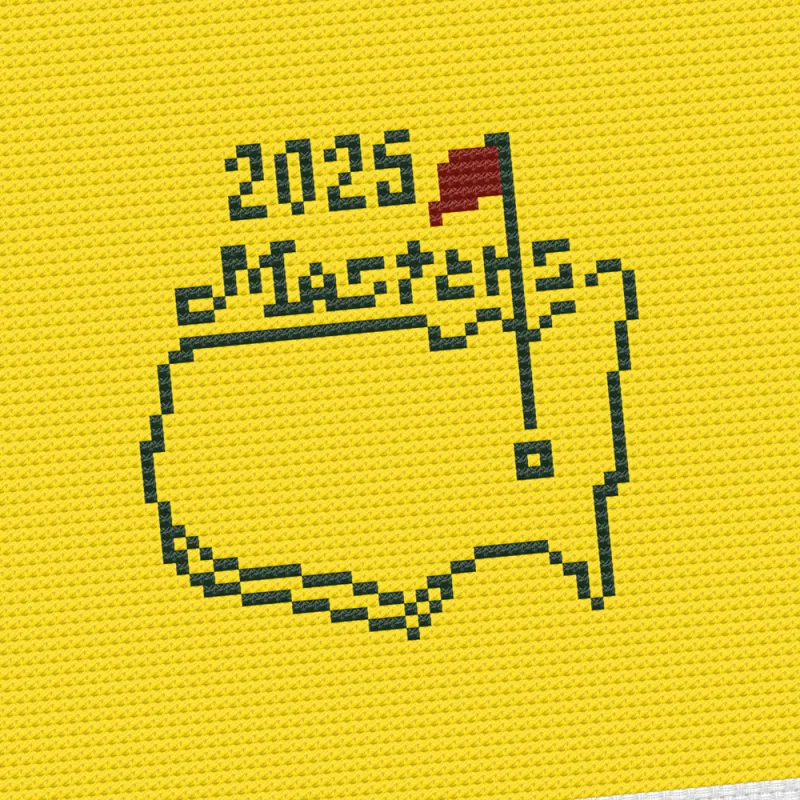
Masters Cross Stitch →
Pride Cross Stitch →
Nerdy Cross Stitch →
©2025 Kiss My Stitch, Inc.